How to Hike Dana to Petra on the Jordan Trail
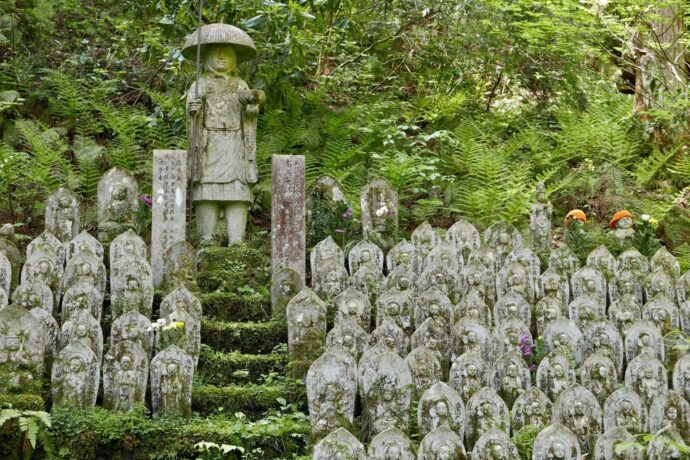
The Jordan Trail stretches 650 km from the northern village of Umm Qais to the southern Gulf of Aqaba, taking around 40 days to complete. It’s a journey through Jordan’s history, passing 75 villages and diverse landscapes. If you don’t have 40 days, spend 5 exploring the best part: the Dana to Petra section. After hiking it, I can confidently say it’s the highlight of the trail, even National Geographic named it one of the world’s top 15 hikes.
This guide has everything you need to know about hiking the Dana to Petra section of the Jordan Trail, based on my March 2025 experience. I’ll cover the best time to go, costs, whether you need a guide, and what each day is really like.
Huge thanks to Experience Jordan Adventures for hosting me on their 9-day Dana to Petra Trek, which also included Wadi Rum and the Dead Sea. As always, these reflections are my own, not sponsored.
Dana to Petra Hike Highlights
-
A tough but unforgettable trek
-
Mars-like landscapes in Dana Biosphere
-
Dancing with Bedouin locals around the campfire
-
Walking in the footsteps of ancient civilisations
Table of Contents

About The Jordan Trail
The Jordan Trail officially launched in 2017 and was shaped by the local hiking community including some of the team behind Experience Jordan. Today it draws hikers from around the world and supports rural communities through tourism with homestays and Bedouin camps dotted along the route. But this isn’t a modern hiking path. It follows ancient trails used by Bedouins, shepherds and local communities all leading to one of the ancient wonders of the world, Petra.

National Geographic’s top 15 hikes in the world: Dana Biosphere Reserve to Petra
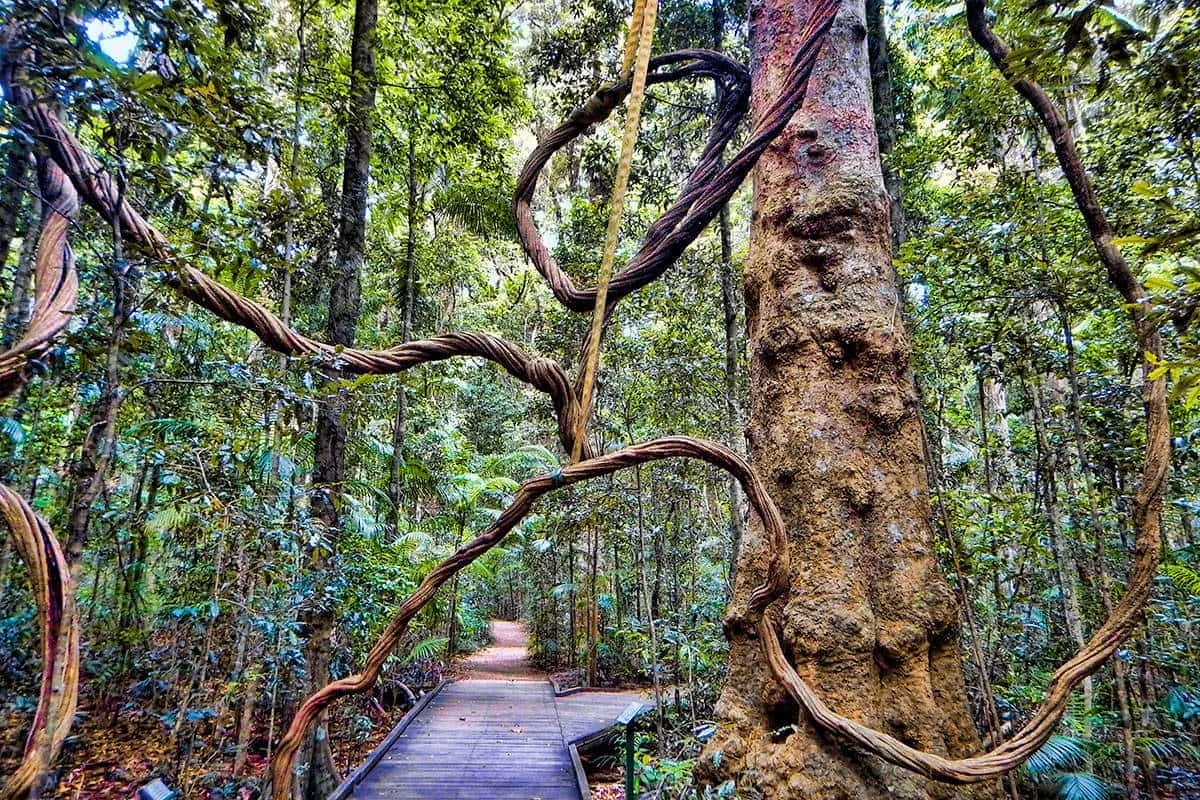
The Dana to Petra section of the Jordan Trail is where adventure meets history. Kicking off in the mountain village of Dana, the path winds through vast canyons, arid deserts, and quiet Bedouin camps, before leading you into Petra through the lesser-known ‘back door’. There’s something powerful about arriving on foot, far from the crowds, with nothing but silence and sandstone to guide you. This isn’t just a hike, it’s a journey through time.

Solo Hiking vs Guided Tour
I hiked northern parts of the Jordan Trail solo, but for the Dana to Petra section, I went with a guided tour from Experience Jordan, and I’m so glad I did. Shout out to our guide, Mahmood, who kept spirits even on the up hills.
Did I miss solo hiking in the southern section? Honestly, hiking with a group up a steep hill is a whole different vibe than carrying a heavy pack alone. While I loved the solo sections, this remote stretch was so much better with support. There are no signposts resulting in multiple trail options, GPS blocks near the Israeli border, and no water sources, I couldn’t imagine figuring all that out on my own.
Having someone take care of logistics meant I could just walk and enjoy the views. Plus, hearing about the land, history, and plants from someone who lives it added so much depth. For this section, going guided made the experience way more enjoyable.
You can walk this section solo and I will give tips below on how you can manage this.
Is the Jordan Trail safe for women to hike solo? After spending three weeks hiking across Jordan, I can honestly say yes, I always felt incredibly safe and after speaking with other solo female travellers they agreed. I was never bothered, even when walking back to my hostel at 10pm. Locals greeted me with kindness everywhere I went and when I was hiking alone people would stop to ask if I needed food or water or invite me into their homes to share a meal or rest. The hospitality in Jordan is next level and I felt looked after the entire time.

When Is the Best Time to Hike the Jordan Trail?
The best time to hike the Jordan Trail is from late March to early of May or September to November, with late March to early May offering ideal weather at around 26°C during the day and 11°C at night. I prefer hiking from March to early May in the northern hemisphere because there’s something special about watching nature slowly come alive again for spring.
I hiked the Dana to Petra section from March 9th to 13th in 2025. The nights were chilly, but the days were perfect. Clear skies, a light breeze, and no harsh sun made the long walks much more enjoyable. Our Bedouin guide always had a fire going and extra blankets ready, which made the chilly evenings at camp feel warm and welcoming.

Costs of hiking the Jordan Trail
The costs vary depending on whether you’re hiking solo or with a group, but for me, the convenience and stress-free experience of joining an organised tour were well worth the extra cost, especially when it comes to managing water and food drops. There are no permits needed for the Jordan Trail, but you’ll need a ticket to enter Petra. I recommend getting the Jordan Pass, which also covers your visa fee at the airport.
Below are the costs I experienced hiking the Dana to Petra section guided:
- 5-day fully catered tour with an experienced local guide: $995–$1,045 USD
- Jordan Pass: Jordan Wanderer (70 Jordanian Dinars, approx. $99 USD)
- Tips for the Bedouin staff and local operators $100USD (70JOD)
Personal:
- Extra drinks at dinners or snacks $15 USD (10JOD)
- Souvenirs in Petra $15 USD (10JOD)
I highly recommend bringing a small souvenir from your country to share with locals. I usually bring a little koala clip, and you’d be amazed at how much they appreciate it.

Tips for Training and Preparation
How fit do you need to be to hike the Dana to Petra section?
Skill level required: Intermediate (with tour support) / Advanced (without tour support)
This hike is no easy feat but doable with training. The oldest in our group was in their 70s and they completed the trek. The trail is rugged with rocky ridges. You’ll need to be comfortable hiking 15-20km a day for 5 days on uneven ground, often in the sun, with your own daypack. Luckily, with Experience Jordan, you’ll have Atallah, the local Bedouin guide, and his donkey Daraad, who carries extra water and tea for the group, which is a lifesaver. By day 4, I was grateful to let Daraad carry my daypack due to shoulder pain.
If you’re going solo, you’ll need solid outdoor experience since there’s no reception, no water sources, and no trail markings. GPS blocking is also common near the Israeli border.
To train properly I suggest to focus on endurance and strength. Try hiking 2-3 days in a row with 15+ km each day, using a daypack or light overnight pack. Train on hills, uneven terrain, and add some strength training for your legs, core, and stability. By adding as much walking as possible to your daily life your body will be conditioned and ready for the trek.

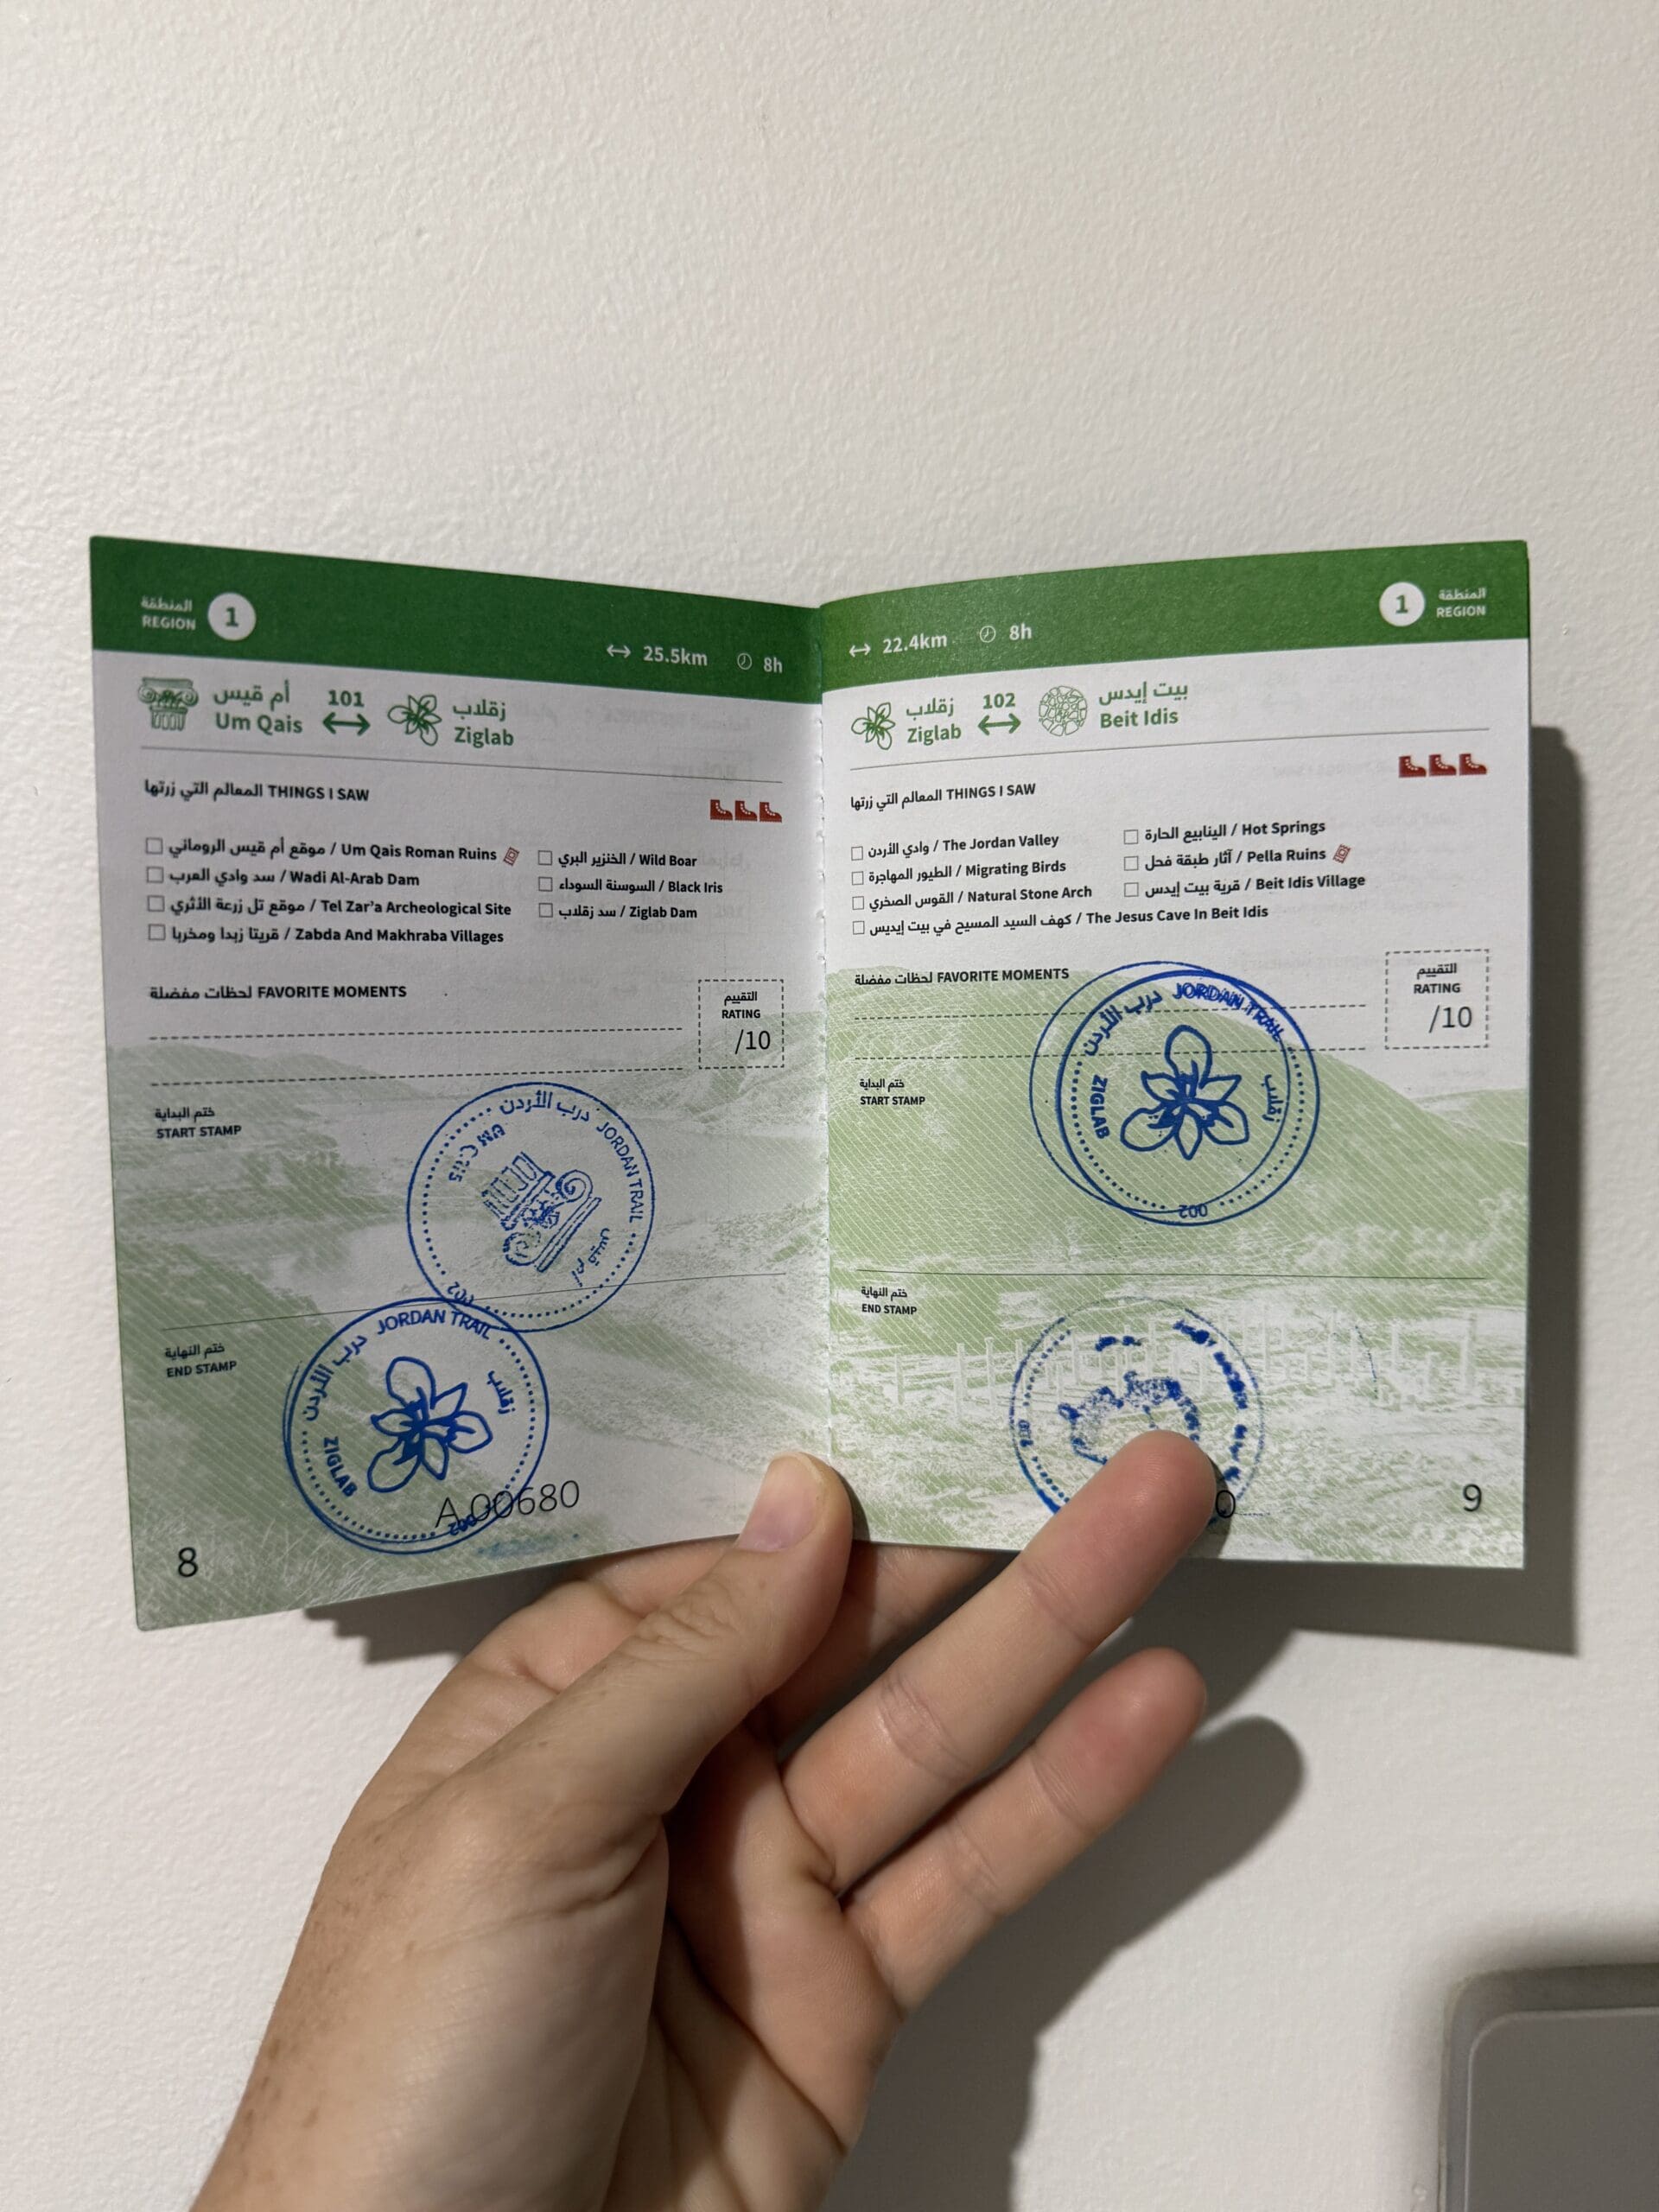
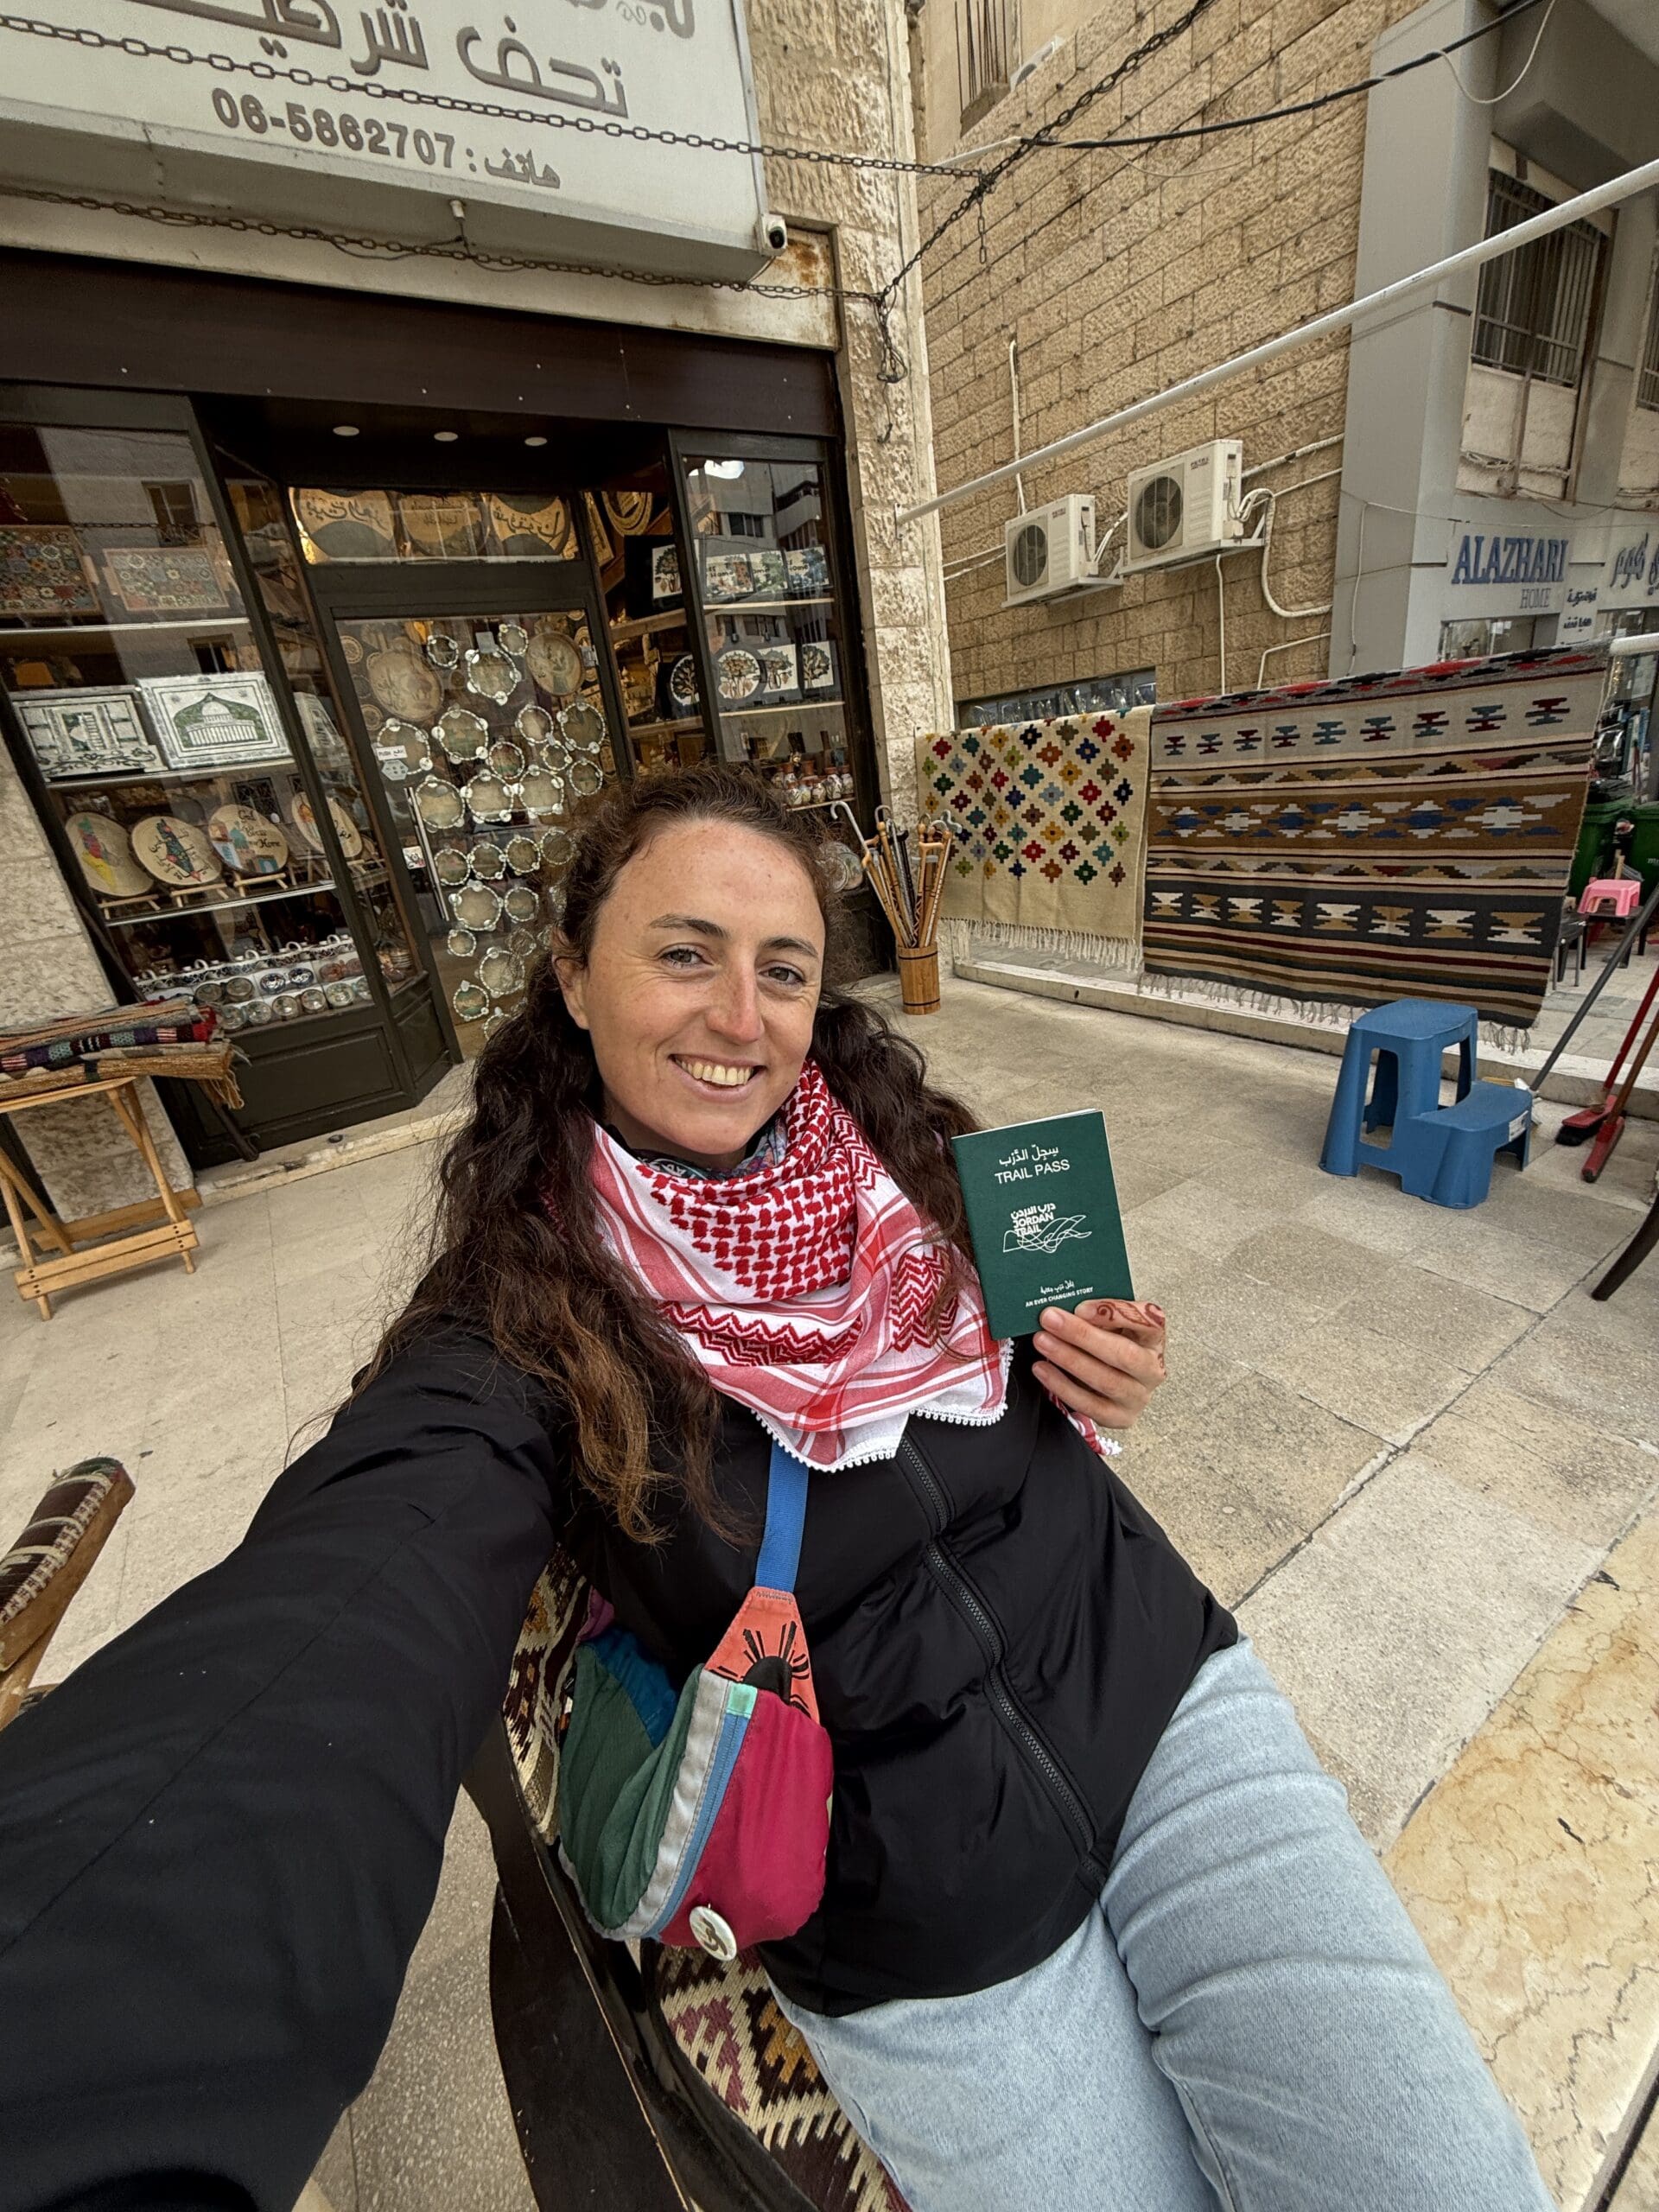
The Jordan Trail Stamp Passport
A fun addition to hiking the Jordan Trail is the Jordan Trail passport, which you can get stamped at certain sections or towns as a keepsake of your journey. It’s a great way to track your progress if you plan to hike more sections or complete the whole trail. You can get your passport through the Jordan Trail Association’s website.
What the hike is really like
The reason I love hiking in new countries isn’t just for the stunning views. It’s because it’s the best way to really get to know a place and its people, away from the crowds. Hiking with the team from Experience Jordan was no different.

Meet the Bedouin Locals
My hike was fully supported by amazing Bedouin locals which really added to the experience because I got to learn about their culture, food and even how to cook bread traditionally in the fire.
Here are a few of the incredible people who made our trip unforgettable:
Eid and his wife, Emaan
Eid made sure our tents had great views and we had enough blankets. He cooked fresh bread and tea over the fire, even teaching us a local song. Emaan’s cooking was incredible, serving up delicious local dishes in the desert.

Atallah and his donkey, Daraad
Atallah (Eid’s son) and Daraad, the donkey, were with us every day, setting the pace and keeping an eye on the group. On day 3, Atallah offered me a ride on Daraad after I fell behind from taking too many photos, what an experience! Atallah kept us hydrated, made tea after lunch, and checked in with each of us.

Terrain
The terrain from Dana to Petra is rugged and diverse. You start in rocky hills, descend into desert valleys, and face dusty trails, steep climbs, and wide-open landscapes. By Petra, you’ve crossed canyons, mountain passes, and otherworldly sandstone.

Navigation
The Dana to Petra section doesn’t have trail signs but you can download GPX files from the Jordan Trail Association. Be aware that in the desert section, GPS signals can be blocked, particularly near the Israeli border. That’s why having an experienced guide is a good idea.

Where You Sleep Each Night
Camping on the trail is simple but comfortable, with four nights of wild camping and one night in a Bedouin camp. It’s basic but incredibly comfortable. Eid and the Bedouin team transport your tent, mattress, and bag ahead, so everything is ready when you arrive. There is even tea and date cookies waiting (my new obsession!).
Each wild camp has its own magic. One night we watched the sunset behind cliffs, another the mountains turned gold, and near Little Petra, candle lights lit up the rock mountain around the camp, like stars. The final night in the Bedouin camp comes with hot showers and real beds which is a cosy way to end the trek.

Food, Water, Showers and what we all want to know… toilets?
The food on the trail was way better than I expected. Emaan, Eid’s wife, cooked everything fresh on site and it was honestly amazing. I’m vegetarian and felt super well catered for, the variety was a nice surprise and I was full every single day. Our guide always had snacks on hand, and those date cookies… I’m still dreaming about them.
I was also impressed by the Experience Jordan team’s attention to sustainability. Instead of single-use plastic, we were given stainless steel plates, cups and cutlery. Even our lunches came in cute tote bags that we got to take home at the end of the trip.
Though we were out in the middle of the desert, we had plenty of clean drinking water, a compost toilet, and even a simple pump shower. Experience Jordan Adventures really nailed it on all levels.

Hiking the Jordan Trail in Ramadan
We hiked during Ramadan, and the whole Bedouin team was fasting. It felt really special to sit around the fire and break fast with the family, sharing dates and smiles. We had no issues eating during the day, but massive respect to Atallah, who fasted from food and water yet still hiked, made tea, and supported us daily.

What to Pack for the Jordan Trail
What you pack depends a lot on whether you’re hiking solo or going with Experience Jordan. With them, your main bag is taken ahead to each camp by the Bedouin support crew. Your tent, pillow, and blanket are all set up by the time you arrive, and dinner is already cooking on the fire.
That means you really only need your hiking clothes and a solid daypack. Still, here’s a list of little things that are easy to forget but can make a big difference:
- Hiking poles – my favourite are the stainless steel Black Diamond foldable poles
- Two-litre water bladder or two one-litre bottles – my go to is Nalgene 1L bottles
- Comfortable daypack with a hipbelt – Osprey Tempest 20-30L is a great option here
- Wide brimmed hat
- Hiking boots you’ve already worn in – I am a barefoot lover so I always use my Vivobarefoot Tracker Boots, on un even trail ankle support is recommended
- Powerbanks (there’s no electricity out there) – the lightest option is Nitecore
- Long sleeve shirts for sun and wind
- Thermals for cold nights
- A warm jacket for after sunset – my current go to is the Arc’teryx Atom Hoody
- Jordanian Dinar
- Passport
- Jordan Pass printed out for scanning

Dana to Petra: detailed 5-day hiking itinerary
Stats:
Distance: 76 km (47 miles)
Duration: 5 days
Elevation gain: 2679 m
Starting point: Dana Village
Ending point: Petra

Daily Breakdown:
-
Day 1: Dana to Mansoura (15km; 260m up, 690m down)
-
Day 2: Mansoura to Furon (16km; 560m up, 170m down)
-
Day 3: Furon to Ghbour Whedat (17km; 750m up, 920m down)
-
Day 4: Ghbour Whedat to Little Petra (14km; 610m up, 560m down)
-
Day 5: Little Petra to Petra (14km; 500m up, 520m down)
Interactive Campsites Map:
Supplied by Experience Jordan Adventures, click the image to be taken to the interactive map.

Day 1 – Dana to Mansoura
Distance: 15km
Time: 5-7 hrs
Total elevation gain: 260m
Total elevation loss: 690m
Kiera’s Highlights:
- Trying hummous in a box – it was actually really good!
- The dramatic drops into the valley that are the perfect backdrop for photos
- Seeing a wild fox
- Singing and dancing with the Bedouin locals at the fire
- Donkey hugs
On day 1 we hiked through the incredible Dana Biosphere Reserve, which is actually one of the most biodiverse areas in all of Jordan. The trail started along the ridgeline with wide open views over Dana Valley before winding down into the rocky, rugged Khashasha Valley. We passed through everything from dry cliffs to green patches of acacia trees, and even spotted an animal which we thought was a fox along the way (it was too quick to really see!). The wild camp was perfect, on the edge of the valley, surrounded by silence and stars in Mansoura.

Day 2 – Mansoura to Furon
Distance: 16km
Time: 5-7 hrs
Total elevation gain: 560m
Total elevation loss: 170m
Kiera’s Highlights:
- Waking up in the desert far from civilisation
- The vast mountain views and feeling like I am so small in comparison
- Sitting with the Bedouin crew by the fire while they broke fast, sharing dates
- Sunset at this camp was the best of the trip, watching the sun hit the mountain tops
Day 2 showed a different terrain. We left camp early, climbing for about an hour before the landscape opened up to reveal the Sharah Mountains and the Wadi Araba Desert below. The views were unreal, wide and wild, with a silence that made you stop and take it all in. I couldn’t resist trailing behind the group, snapping photos of it all.
By mid-afternoon, we reached our campsite at Furon, with amazing views over the desert. We arrived around 3 p.m., settled in, and enjoyed tea while watching the sky turn golden as the sun set over Wadi Araba. A perfect end to a rewarding day.

Day 3 – Furon to Ghbour Whedat
Distance: 17.1km
Time: 6-8 hrs
Total elevation gain: 560m
Total elevation loss: 170m
Kiera’s Highlights:
- The moment the big incline was over and I could see the view, making it all worth it
- Spotting shepherd herders and their animals along the way
- Making bread with Eid and cooking it in the fire the traditional Bedouin way
- Cooking with Emaan in the big tent making special Ramadan deserts
Day 3 was one of the toughest but most rewarding. We hiked the Bedouin shepherd paths through the Sharah Mountains, surrounded by towering peaks and deep canyons. The silence was incredible, and the desert stretched out before us. We spotted ancient petroglyphs along the way. By afternoon, we reached our campsite at Ghbour Whedat, nestled among sandstone cliffs, where we relaxed with tea and watched the sunset over the desert. My favourite wild campsite of the trek.

Day 4 – Ghbour Whedat to Little Petra
Distance: 14km
Time: 5-7 hrs
Total elevation gain: 560m
Total elevation loss: 170m
Kiera’s Daily Highlights:
- The heart warming goodbye to the Bedouin team that supported us the last 3 days
- Arriving to Little Petra through the back entrance, a narrow staircase
- Exploring Little Petra like a theme park, nothing was sectioned off
- The lights turning on in the rock structure around our Bedouin camp, imagine candles lighting every rock crevice
Day 4 took us from remote desert into signs of life. We passed Bedouin camps, sheep pens, and small farms. We also saw Nabataean ruins like olive presses and ancient aqueducts before climbing through a sandstone canyon and down into Little Petra. The site, once a stop for Silk Road traders, was a fascinating place to explore. Afterward, we walked on to our Bedouin camp for the night where hot showers and real beds were waiting.

Day 5 – Little Petra to Petra
Distance: 14km of hiking + 5-6 km walking around Petra sightseeing
Time: 5-8 hrs
Total elevation gain: 560m
Total elevation loss: 170m
Kiera’s Daily Highlights:
- The slow build up to the Treasury by hiking to the ‘back door’ entrance of Petra instead of entering at the visitor centre
- History coming alive with our fantastic guide, Mahmood
- Seeing the Treasury for the first time, camels and all
- Visiting the oldest bar in the world, The Cave Bar, built in old caves just outside the Petra visitor centre (must visit to celebrate the end of the hike!)
On the final day, we entered Petra via the ‘back door,’ bypassing the crowds. The trail took us through Wadi Ghurab, past sandstone peaks, and up to a hidden plateau where the Monastery appeared. After a break at the Bedouin cafe, we descended to Petra’s main site, passing tombs and temples before reaching the famous Treasury. We ended the journey through the narrow Siq, exiting the site in awe.
Surprisingly, I preferred the Monastery over the Treasury. Both are incredibly beautiful, but if you visit Petra, you have to walk that extra bit to the Monastery, it’s absolutely worth it and you’d be missing out otherwise.
That night, our group celebrated the end of the trek with a drink at the oldest bar in the world, The Cave Bar. It’s built inside an original Nabatean tomb, which made for such a cool (and slightly surreal) way to mark the end of an unforgettable adventure.
And that’s it, the best 5 days you can spend hiking in Jordan, well, at least in my opinion.

Where to go next?
Did you know the Jordan Trail continues past Petra into Wadi Rum? While I didn’t hike it, I did join Experience Jordan for a jeep ride through Wadi Rum. We stayed the night at another Bedouin camp and ate a traditional BBQ cooked in the sand as part of their 9-day hiking and adventure tour.
The sunset in Wadi Rum was like nothing I’ve ever seen, deep, rich reds that made me feel like we were on Mars. The trip ended with a float in the Dead Sea where we eased our sore muscles with a mineral-rich mud massage. The perfect way to wrap up 3 adventurous weeks in Jordan.

Final thoughts, would I do it all again? There’s no doubt… Yes!
Planning to hike the Jordan Trail? Drop your questions in the comments. I’m happy to help!
Or follow me on Instagram to see my daily reels from hiking the trail @heykiera_